Monday, 29 February 2016

How to check array is empty or not in Groovy


here array1 and array2 are two different arrays. for checking of which arrays are empty we will use asBoolean.

if it returns

   true   - array is not empty
   false  - array is empty

How to combine two arrays in Groovy


Here array1 and array2 are two different arrays. if you need to combine all elements in single array we will use addAll function. it is pushes the all elements of array2 to array1. addAll returns a boolean value.

Friday, 26 February 2016

Login with facebook authentication with in your app by using jquery

I implemented this scenario in Grails application. first of all create sample web application.

step 1:

place given code as below in html page. create a button in html page. button id as fbImg.

<link rel="stylesheet" href="http://code.jquery.com/qunit/qunit-1.14.0.css">
<script src="http://code.jquery.com/jquery-1.11.1.min.js"></script>
<script src="http://code.jquery.com/qunit/qunit-1.14.0.js"></script>
<asset:javascript src="jquery.fblogin.js"/>
<asset:javascript src="tests.js"/>
<button class="login_icons_soco pointer" id="fbImg" >FB Login</button>
<script>
 $(document).ready(function(){
$('#fbImg').click(function(){
var s = 'script';
var id = 'facebook-jssdk';
var js, fjs = document.getElementsByTagName(s)[0];
   if (document.getElementById(id)) {return;}
   js = document.createElement(s); js.id = id;
   js.src = "https://connect.facebook.net/en_US/sdk.js";
   fjs.parentNode.insertBefore(js, fjs);
});
 });
</script>

step 2: jquery.fblogin.js file

(function (factory) {
    if (typeof define === 'function' && define.amd) {
        // AMD
        define(['jquery'], factory);
    } else if (typeof exports === 'object') {
        // CommonJS
        factory(require('jquery'));
    } else {
        // Browser globals
        factory(jQuery);
    }
}(function ($) {
    $.extend({
        /**
         * fblogin
         * @property {object}  options      - settings for fblogin plugin.
         *
         * Required:
         * options.fbId         {string}    - the Facebook app id
         *
         * Optional:
         * options.permissions  {string}    - a comma seperated list of FB permissions. See http://bit.ly/1plqJSs
         * options.fields       {string}    - a comma seperated list of field ids. See http://bit.ly/1plrevO
         * options.success      {function}  - callback that will be triggered when data is successfully returned from FB.
         * options.error        {function}  - callback that will be triggered by any errors.
         */
        fblogin: function (options) {
            /**
             * Private Props
             * @property {object}  __               - add private module functions here.
             * @property {object}  isSdkLoaded      - a flag for when the FB SDK has loaded.
             * @property {object}  isFbInitiated    - a flag for when FB.init has been called.
             * @property {object}  $dfd             - stores an instance of jquery Deferred.
             */
            var __,        
                isSdkLoaded,    
                isFbInitiated,
                $dfd;

            options = options || {};
            isSdkLoaded = false;
            isFbInitiated = false;
            $dfd = $.Deferred();

            // PRIVATE FUNCTIONS
            __ = {
                init: function () {
                    // FB ID is required
                    if (!options.fbId) {
                            throw new Error('Required option "fbId" is missing!');
                    }

                    options.permissions = options.permissions || '';
                    options.fields = options.fields || '';
                    options.success = options.success || function(){};
                    options.error = options.error || function(){};

                    __.listenForFbAsync();
                },
                listenForFbAsync: function () {
                    if (window.fbAsyncInit) {
                        var notMyFunction = window.fbAsyncInit;
                    }
                    // listen for FB SDK load
                    window.fbAsyncInit = function() {
                        __.initFB();
                        isSdkLoaded = true;
                        if (notMyFunction) { notMyFunction(); }
                    };

                    if (isSdkLoaded || window.FB) {
                        window.fbAsyncInit();
                        return;
                    }
                },
                initFB: function () {
                    if (!isFbInitiated) {
                        window.FB.init({
                            appId      : options.fbId,
                            cookie     : true,
                            xfbml      : true,
                            version    : 'v2.0'
                        });

                        isFbInitiated = true;
                    }
                 
                    $dfd.notify({status: 'init.fblogin'});
                },
                loginToFB: function () {
                    window.FB.login(function(response) {
                        if (response.authResponse) {

                            $dfd.notify({
                                status: 'authenticate.fblogin',
                                data: response
                            });

                        } else {
                            // mimic facebook sdk error format
                            $dfd.reject({
                                error: {
                                    message: 'User cancelled login or did not fully authorize.'
                                }
                            });
                        }
                    }, {
                        scope: options.permissions,
                        return_scopes: true
                    });
                },
                getFbFields: function (accessToken) {
                    FB.api('/me', {fields: options.fields}, function(response) {
                        if (response && !response.error) {
                            $dfd.resolve(response);
                            // Set login details
                            $('#authEmail').val(response.email)
                            $('#socialMediaActive').val(true);
                            callAuthForm();
                        }
                        else {
                            $dfd.reject(response);
                        }
                    });
                }
            };

            // This monitors the FB login progresssion
            // 1. Init FB
            // 2. FB.login
            // 3. Get user data
            $dfd.progress(function (response) {
                if( response.status === 'init.fblogin' ) {
                    __.loginToFB();
                } else if( response.status === 'authenticate.fblogin' ) {
                     __.getFbFields(response.data.authResponse.accessToken);
                } else {
                    dfd.reject();
                }
            });

            // point callbacks at deffereds
            $dfd.done(options.success);
            $dfd.fail(options.error);

            // here we go!
            __.init();

            return $dfd;
        }
    });
}));

step 3: test.js file

(function($) {
   module('plugin options');
   test('required FB id option not included', function () {
       throws(function () {
var options = new Object();
options.fbId = 'APP ID HERE'
options.permissions = 'public_profile,email';
options.fields = 'email';
           $.fblogin(options);
       },
       'Should throw an error');
   });
}(jQuery));

step 4:

create controller, call an action it views step 1 html page.

it shows like this


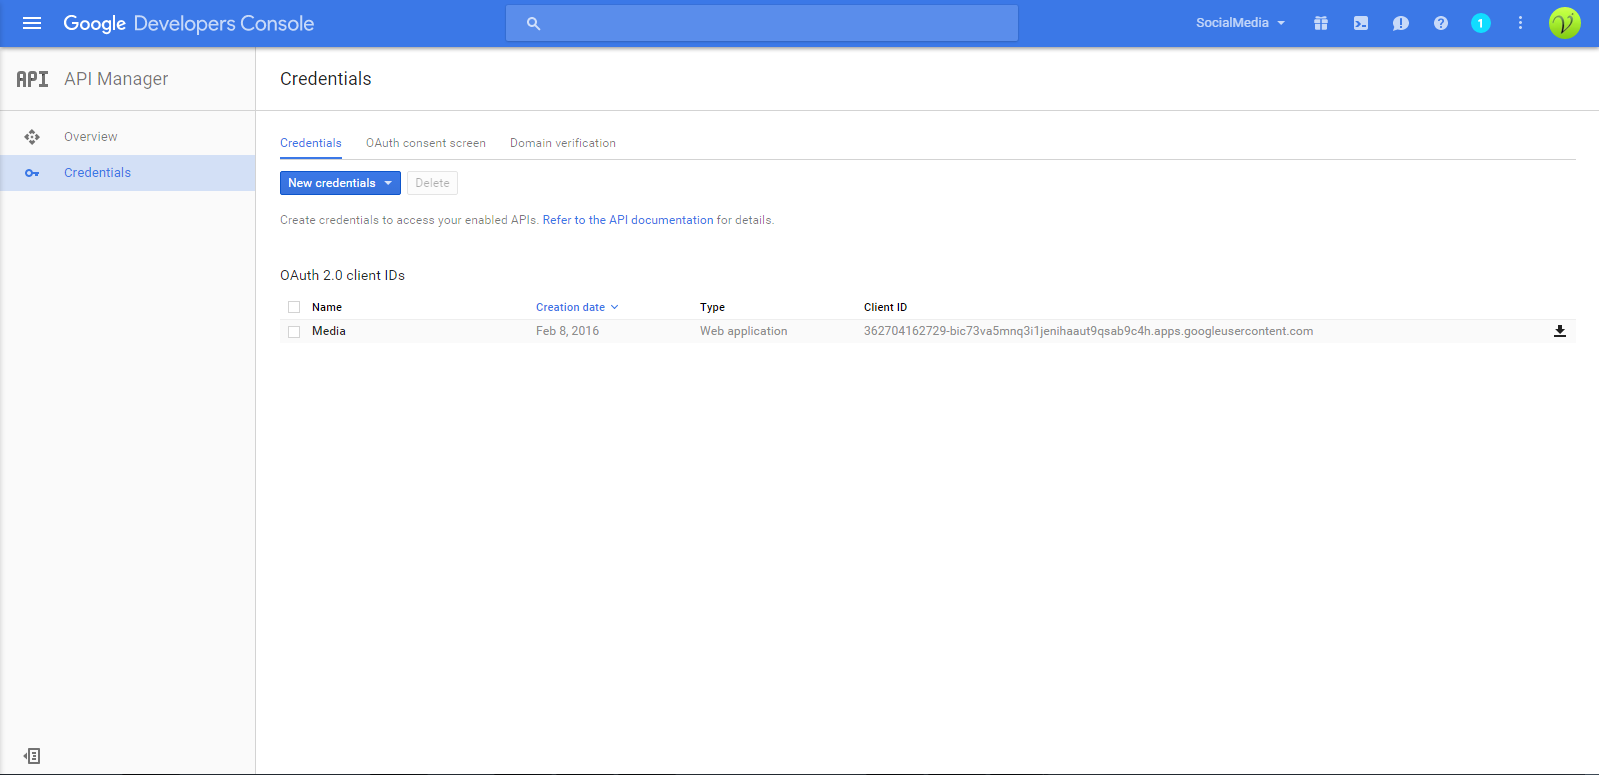
before going to login we can add our app in facebook application. for that goto this link

https://developers.facebook.com/apps

it shows facebook login. just login into fb with your account. it shows dashboard like this

goto MyApps >> Add New App

it shows like this


select website


give app name and choose category as apps for pages then click on create app ID. you will navigated to app dashboard


goto settings, click on add platform

select platform as website

give url of app


and then save

goto advanced. give call back url


then save.

place app id in tests.js in step 3


now run the app. click on fb button


login with your login details you will navigated to your application.

for mail id and profile details you can go to step 2. below function

getFbFields: function (accessToken) {
                    FB.api('/me', {fields: options.fields}, function(response) {
                        if (response && !response.error) {
                            $dfd.resolve(response);
                            // Set login details
                            alert(response.email)
                        }
                        else {
                            $dfd.reject(response);
                        }
                    });
                }


Reference:

http://www.jqueryrain.com/?EiMyCkSQ
http://www.oauthlogin.com/ 

Thursday, 18 February 2016

How to delete dynamic folder in your application

Hi,

  I want to delete ContactUsList folder in my web-apps. so, it is helpful for that.

String realPath  = ServletContextHolder.servletContext.getRealPath(File.separator+"dataCsv"+File.separator+"ContactUsList");
File c =new File (realPath);
if(c.isDirectory()) {
c.deleteDir()
}

it checks the directory is existed or not in given realPath. if the it is existed then it is deleted.

How to sort array list by name in groovy

def items = StockItemSetup.findAllByStationId(session.stId as Long).sort{                                                                                                                                                                it.itemName.toUpperCase()
                                                                                                                       }

Static File Download in Grails

Hi,

   here i will explain how to download a static file in grails. for this, create documents folder in your web-apps. place your static file in documents. then place given code in your controller.

def excelDownload(){
def fileName = 'StockUpload.xls'
downloadFile(fileName,
                             servletContext.getRealPath(File.separator+"documents"+File.separator+fileName))
redirect action:'upload'
}

def downloadFile(fileName,path) {
def file = new File(path)
if (file.exists()) {
response.setContentType("application/download")
response.setHeader('Content-Disposition', "Filename="+fileName)
response.outputStream << file.bytes
}
return
}

Monday, 8 February 2016

Integrate Gmail Login to your App in Grails Using JQuery

Hi,

    This post is helpful to all add social media logins to your application. in this, i will explain gmail authentication using jquery in grails.

step 1:

create sample project.

place this code in viewing page

<!-- Google Authentication -->
   <!-- Bootstrap core CSS -->
  <script src="https://ajax.googleapis.com/ajax/libs/jquery/1.11.1/jquery.min.js"></script>
  <script src="http://getbootstrap.com/dist/js/bootstrap.min.js"></script>
   <script type="text/javascript">
  (function() {
    var po = document.createElement('script');
    po.type = 'text/javascript'; po.async = true;
    po.src = 'https://plus.google.com/js/client:plusone.js';
    var s = document.getElementsByTagName('script')[0];
    s.parentNode.insertBefore(po, s);
  })();
  </script>
  <script type="text/javascript">
    var gpclass = (function(){
 
    //Defining Class Variables here
    var response = undefined;
    return {
        //Class functions / Objects
     
        mycoddeSignIn:function(response){
            // The user is signed in
            if (response['access_token']) {
         
                //Get User Info from Google Plus API
                gapi.client.load('plus','v1',this.getUserInformation);
             
            } else if (response['error']) {
                // There was an error, which means the user is not signed in.
                //alert('There was an error: ' + authResult['error']);
            }
        },
     
        getUserInformation: function(){
            var request = gapi.client.plus.people.get( {'userId' : 'me'} );
            request.execute( function(profile) {
                var email = profile['emails'].filter(function(v) {
                    return v.type === 'account'; // Filter out the primary email
                })[0].value;
                var fName = profile.displayName;
                alert(email)
            });
        }
 
    }; //End of Return
    })();
 
    function mycoddeSignIn(gpSignInResponse){
        gpclass.mycoddeSignIn(gpSignInResponse);
    }
    </script>
    <button class="g-signin"
                    data-scope="https://www.googleapis.com/auth/plus.login https://www.googleapis.com/auth/userinfo.email"
                    data-requestvisibleactions="http://schemas.google.com/AddActivity"
                    data-clientId="362704162729-bic73va5mnq3i1jenihaaut9qsab9c4h.apps.googleusercontent.com"
                    data-accesstype="offline"
                    data-callback="mycoddeSignIn"
                    data-theme="dark"
                    data-cookiepolicy="single_host_origin">Gmail</button>
  <!-- Google Authentication -->

step 2:

register application in gmail apps : https://console.developers.google.com/
login into the gmail. you will navigate to dashboard.

Dashboard

step 3: click on create project


give project name and then create. your project is created


step 4:

goto Enable and manage APIs. you will navigate to below page.


step 5:

in social api's, click on Google + API. then you will navigate to this page


step 6:

click on Enable API. the API is enabled.

step 7:

click on credentials and goto OAuth consent screen


give project name and then save.

step 8:

goto credentials and click on client id


fill the details the following way


and then create, it shows the client id


step 9:

     place client id in step 1 ( in button attribute ). now run the project it show like this.


step 10:

    click on gmail. it will show login panel.


login into your account. 


click on allow. it will redirect to as you given location. in response of authentication is json. in this we find out email, name and so on.

refferences:

http://mycodde.blogspot.in/2014/12/login-using-google-javascript-api.html
http://www.jqueryrain.com/?EiMyCkSQ
http://hayageek.com/login-with-google-plus-javascript-api/
http://www.oauthlogin.com/